About
This blogpost is a companion to the blog post on how to Integrate Azure Databricks MLflow for machine learning model management and inference. Here, you'll train and register an ML model that can later be used in a credit card fraud detection scenario, as described in the companion blogpost. Since creating the Nussknacker scenario is entirely independent of the ML model training, it's up to you whether or not to proceed with it.
See also the post on Credit scoring system with ML inference, where we show how using Nussknacker with MLflow, enabled data scientists to deploy ML models directly while letting business analysts manage credit rules
---------------------------------------
Azure Databricks is a unified, open analytics platform designed for big data, analytics, and AI solutions at scale. It provides a collaborative workspace for data engineers and machine learning practitioners to develop, train, and deploy ML models efficiently.
One of its key managed services is MLflow, an open-source platform for managing the complete machine learning lifecycle. With MLflow in Azure Databricks, users can easily track experiments, manage model versions, and deploy models into production. This makes it an excellent choice for organizations looking to streamline their ML workflows while leveraging the power of Azure’s cloud infrastructure
In this blogpost, we present a step-by-step guide on how to train an example machine learning model in Azure Databricks and then register it in its managed MLflow. If a registered ML model meets all the necessary business and performance requirements, it can then be exposed for inference and used, e.g., in Nussknacker Cloud, which already provides excellent integration with models registered in MLflow. You can read more about integrating ML into your Nussknacker data flows by exploring our example use cases here: Real-Time ML-Driven Recommendations, ML models inference in fraud detection, and here: How to use Azure Databricks Managed MLflow in Nussknacker Cloud.
To follow along with the guide and execute all the described steps you should have an active Azure subscription along with an access to Azure Databricks. If you don’t already have an Azure subscription, you can sign up for a free trial at the Azure Portal.
About the used ML model
As an example ML model, we use a simple decision tree-based classifier for credit card fraud detection, originally deployed in a scenario described in the "ML models inference in fraud detection" blogpost. The model is picked using 5-fold cross-validation for hyperparameter tuning on the Kaggle dataset containing credit card fraud data. To keep it simple, we omit any EDA or feature engineering for this dataset and just use the insights from the mentioned blogpost. After the model is trained, we register it to Azure Databricks managed MLflow to make it available for inference.
The complete training and registration process of this model is implemented in the Jupyter Notebook, which should be executed inside your Azure Databricks workspace. The remaining sections of this blogpost will show you exactly how to do it.
Preparing the Azure Databricks workspace
The first step is to prepare an Azure Databricks workspace with a Compute Cluster attached. If you already have an existing workspace set up, you can skip the following steps and go directly to the “Training and registering the ML model” section.
Creating a Resource Group
Start by creating a resource group:
- Log in to the Azure Portal and navigate to Resource Groups.
- Click the "Create" button to create a new resource group.
- Select your subscription, provide a name for the resource group, and choose a region that suits you.
- Click "Review + Create" and after the validation passes, click "Create" to finalize the setup.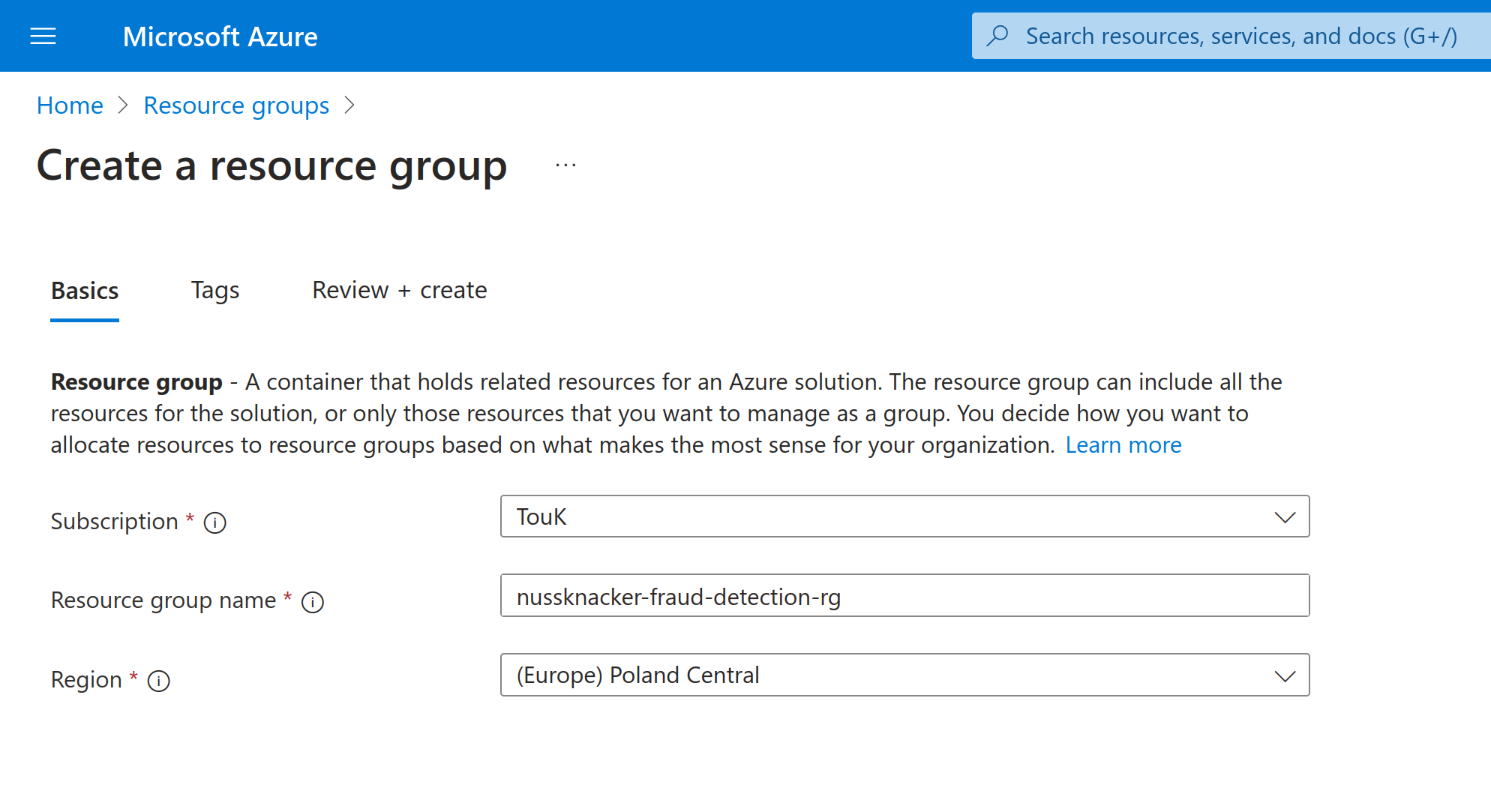
Creating a Databricks Workspace
Next, create a Databricks workspace within the created resource group:
- Navigate to Azure Databricks services in the Azure Portal.
- Click "Create" to set up a new Databricks workspace.
- Choose your subscription and the resource group you just created.
- Provide a name for your workspace and select the same region as before.
- Click "Review + Create", and after validation, click "Create".
- Wait for the deployment to complete. This may take a few minutes.
- Once finished, click "Go to resource" to access your new Databricks workspace and then click the "Launch Workspace" to switch to the workspace view.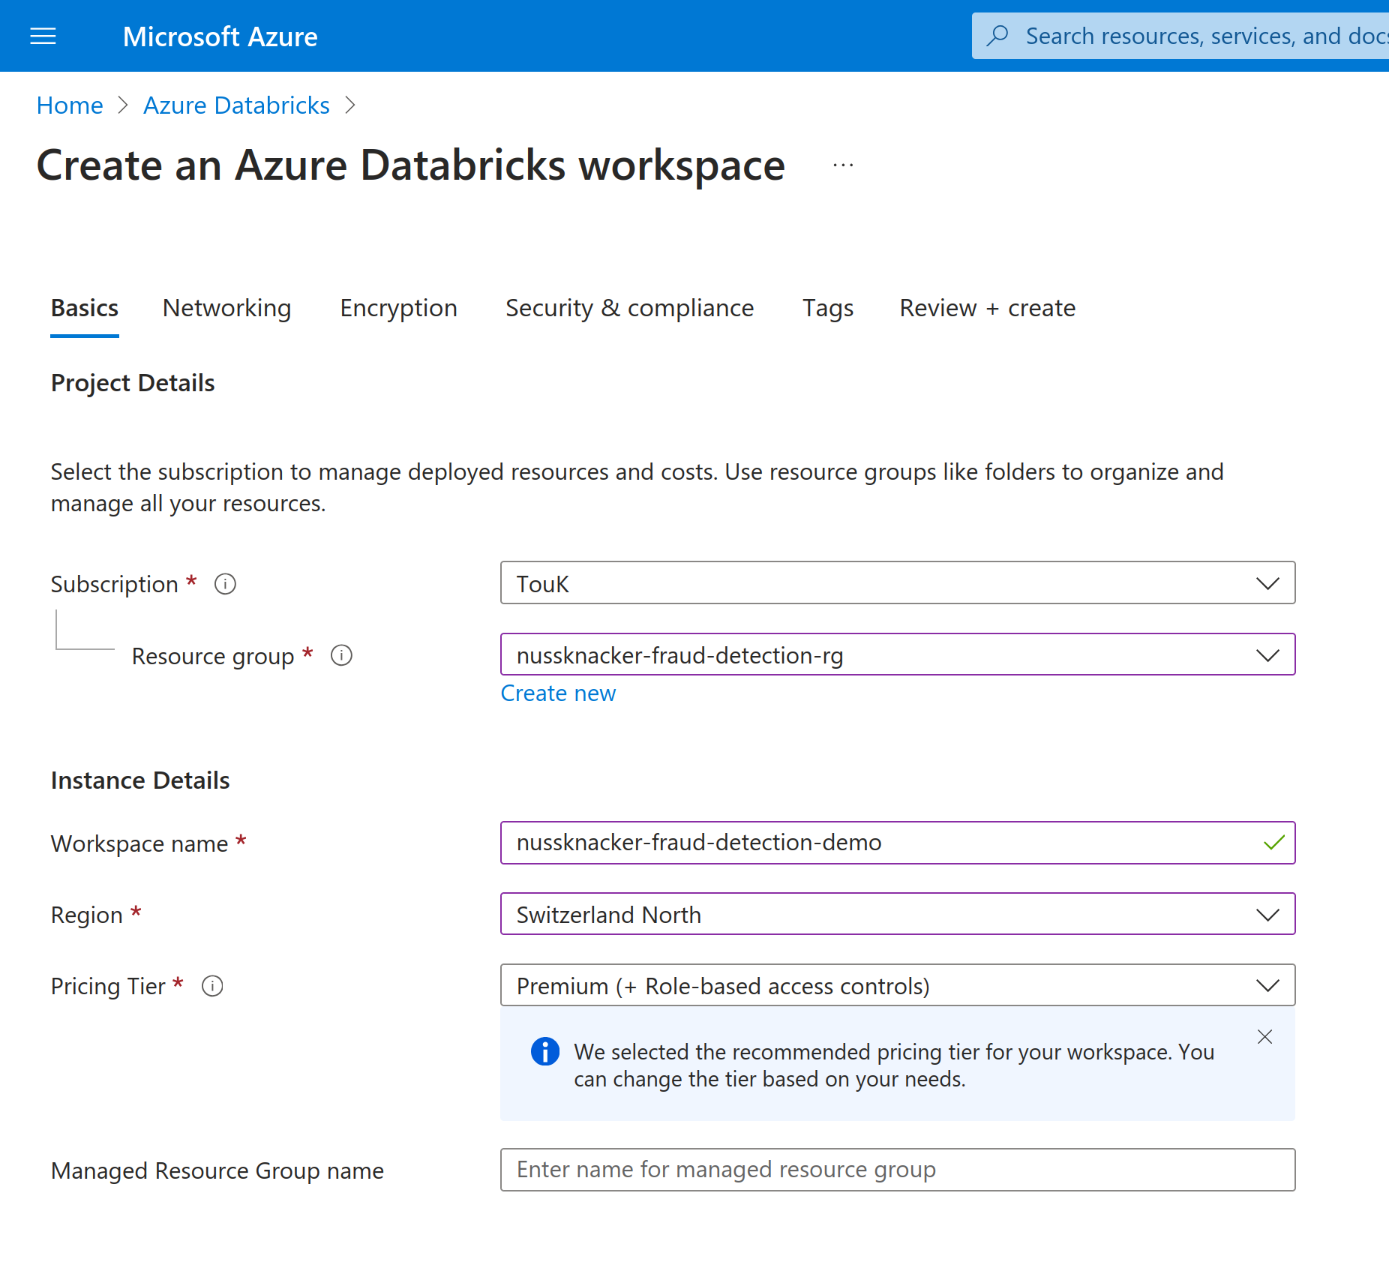
Creating a Compute Cluster
To run the provided Jupyter Notebook, you need to have a Compute Cluster available within the created workspace:
- In the Databricks workspace, click on "Compute" in the left-hand menu.
- Click "Create Compute".
- Configure the cluster settings:
- Cluster Mode: Select "Single Node".
- Databricks Runtime Version: Choose "14.3 LTS" or a version that supports Python 3.10.
- Node type: Select "Standard_DS3_v2" or a hardware configuration of your own preferences.
- Leave other settings at their default values.
- Click "Create Cluster". The cluster creation process may take a few minutes.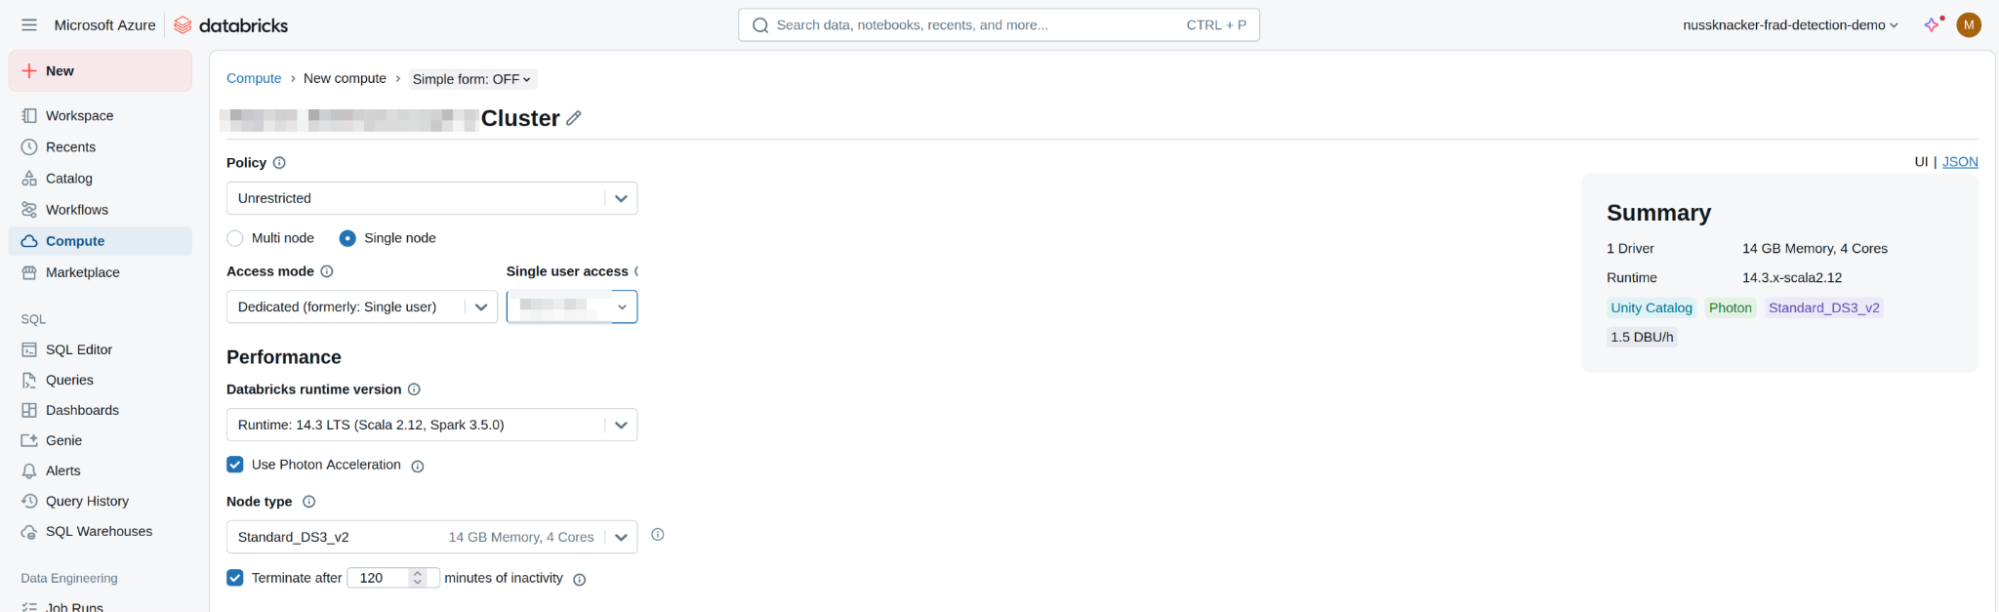
Training and registering the ML model
With the Azure Databricks workspace properly configured, you are now ready to train and register the example ML model. Since this entire process is implemented in the Jupyter Notebook, you need to import this notebook into the configured Azure Databricks workspace and then execute it using the attached Compute Cluster. But before you can do this, you need to install all the libraries required by the notebook.
Installing Required Libraries
The provided Jupyter Notebook depends on some Python libraries, which should be installed on your Compute Cluster.
- Click "Launch Workspace" to open the Databricks workspace in a new tab.
- In the "Compute" section, click on your newly created cluster.
- Navigate to the "Libraries" tab.
- Click "Install New".
- In the "Install Library" dialog:
- Library Source: Select "PyPI".
- Package: Enter the library name and version.
- Using the method mentioned above, install the following libraries one by one:
- `scikit-learn==1.4.0`
- `pandas==2.2.2`
- `imbalanced-learn==0.12.3`
- `mlflow-skinny[databricks]`
- `mlflow==2.18.0`
- Wait for all libraries to be installed successfully before proceeding.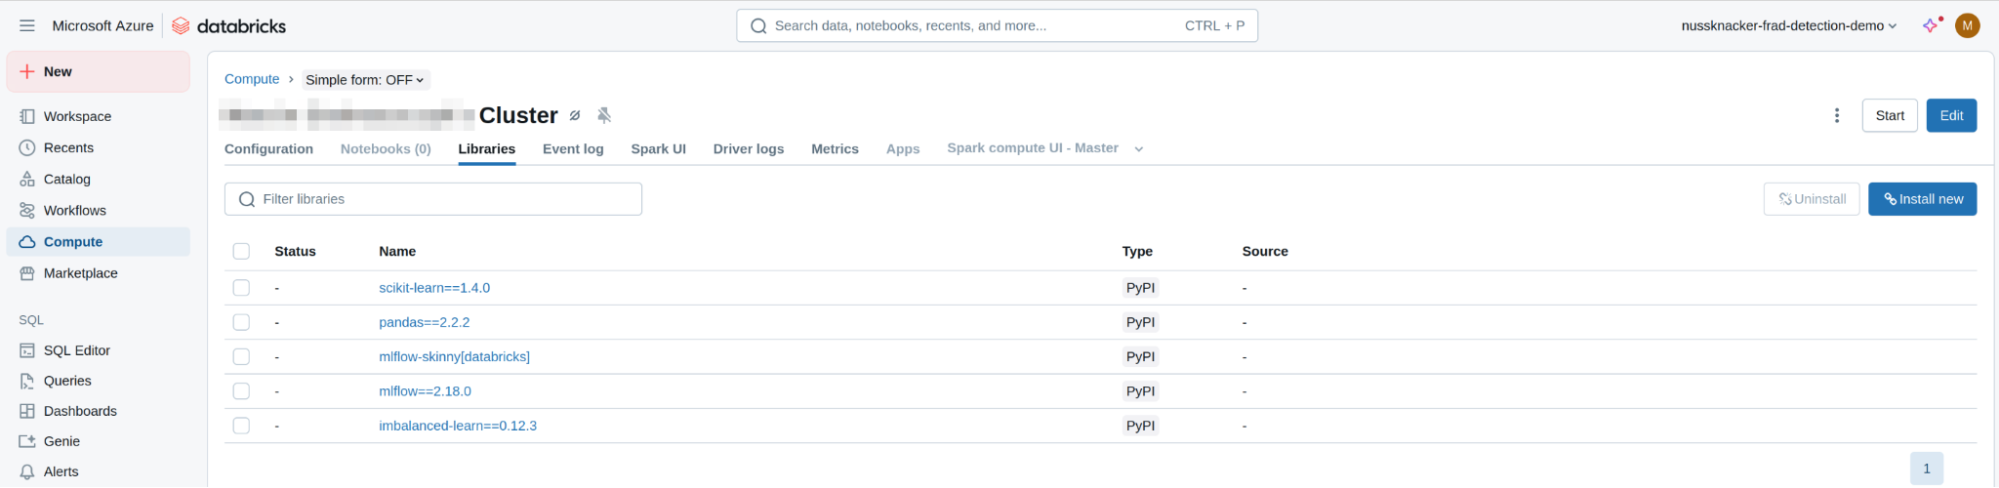
NOTE: Depending on the Databricks Runtime version, that you selected during Compute Cluster creation, you might also be able to install the required libraries using the requirements.txt file that was already imported into your workspace along with the notebook. According to the current documentation this method of installation is only possible for Databricks Runtime 15.0 and above.
Importing the Jupyter Notebook
With all the required libraries installed, you are now ready to import the Jupyter Notebook into the Databricks workspace:
- In the left-hand menu, click on Workspace.
- Click the "Create" button and select "Git Folder".
- Enter the Git repository URL: https://github.com/mstelmas/nussknacker-credit-card-fraud-notebook
- Click "Create" to clone the repository into your workspace.
- You should now see the notebook "credit_card_fraud_notebook" in your workspace.
Running the Jupyter Notebook
With the Jupyter Notebook imported, you are now ready to run it in order to train and register the ML model.
- In the Databricks workspace, navigate to the imported notebook “credit_card_fraud_notebook.ipynb” located in the root directory.
- Attach the notebook to your compute cluster by selecting the cluster from the dropdown menu at the top of the notebook.
- Follow the instructions within the notebook, executing each cell in order.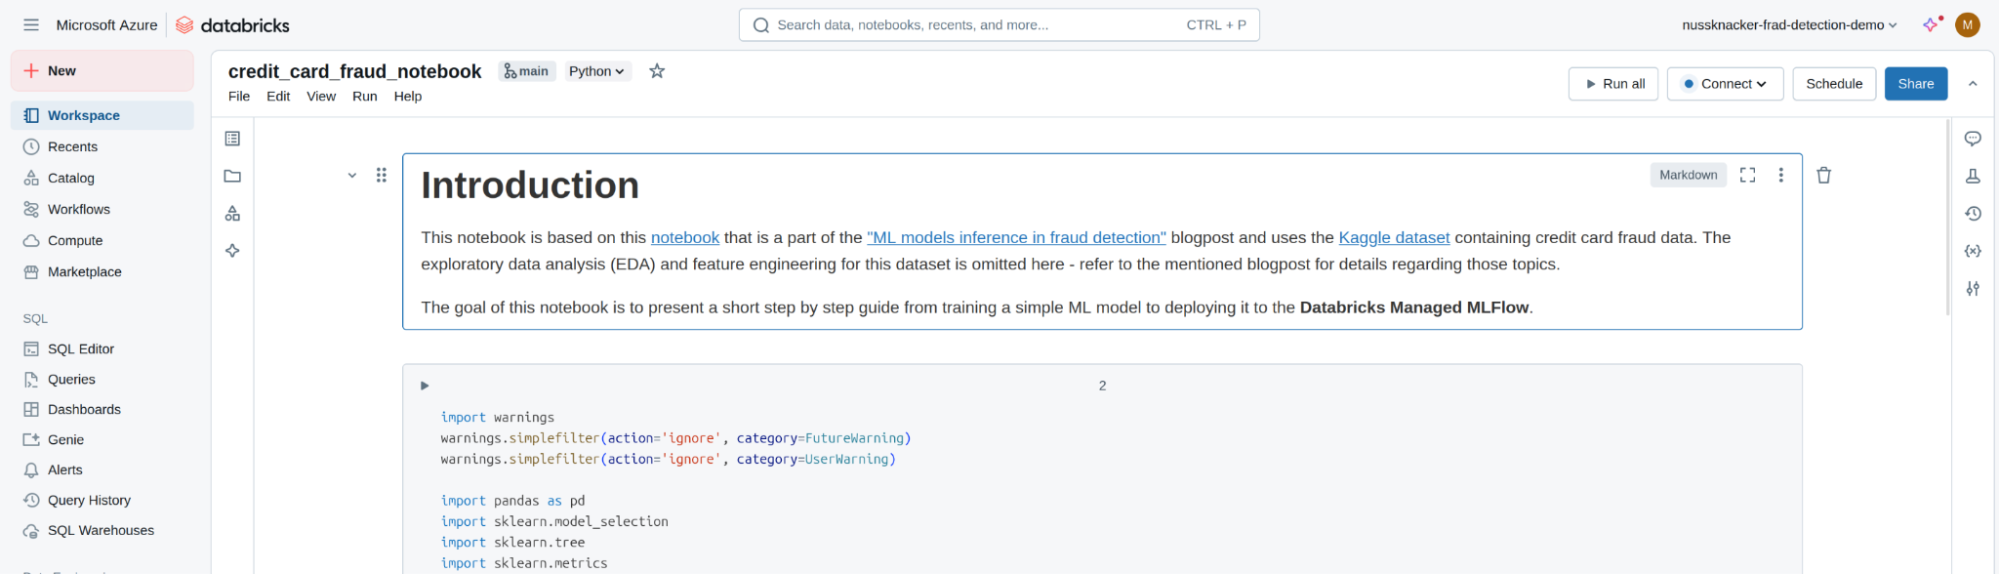
In the last step of the notebook, we train the credit card fraud detection model and then register it in the Databricks managed MLflow. The model is registered with the name “credit-card-fraud-classifier” and is assigned the next available version for a model with that name.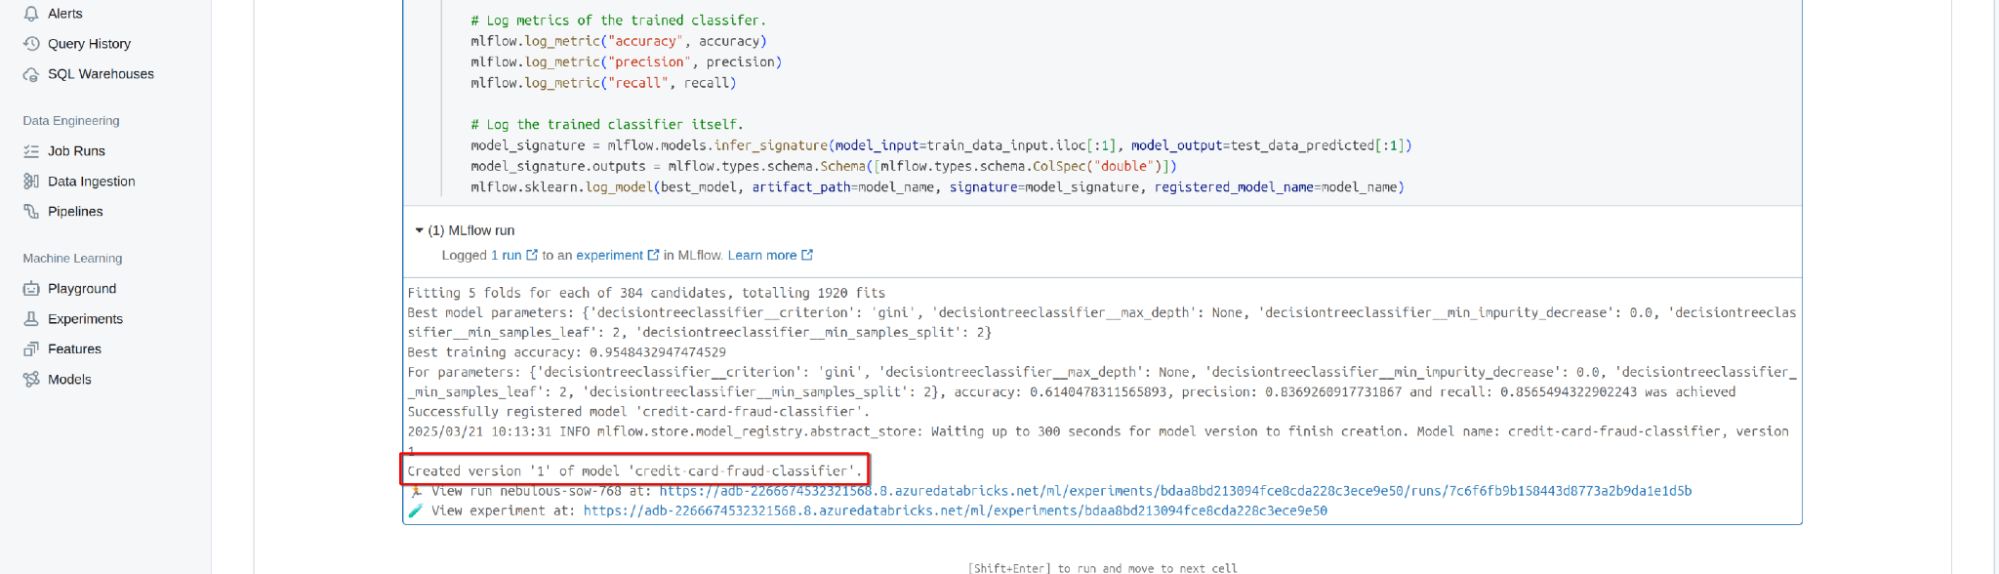
Accessing the registered model details
After successfully executing the Jupyter Notebook, you should be able to explore some of the details about the registered ML model.
- In the left-hand menu, locate the "Machine Learning" section and click on "Models". This opens up the "Registered Models" view, where we can confirm that our model has been successfully registered and is now available for inference.
- Click on "Experiments" located also under the "Machine Learning" section. This opens up the "Experiments" view, which contains all the information manually registered during the model training process. Click the "credit_card_fraud_notebook" experiment, which is the experiment associated with our notebook. This opens up a view containing all the runs (executions) that were performed as part of the selected experiment.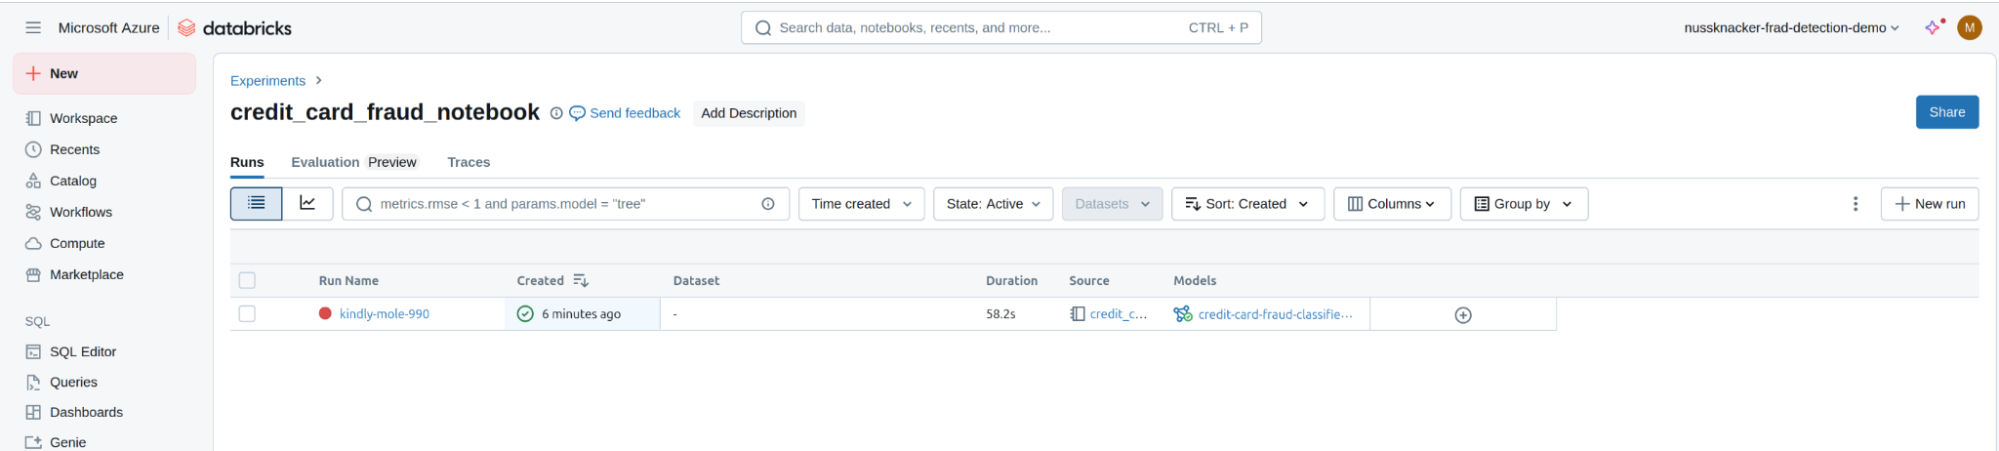
- Click on an arbitrary run (depending on how many times you executed the notebook, you will have that many runs available for inspection) to open up its detailed view. Aside from some basic information about the selected run, this view also contains all the model hyperparameters ("Parameters" section) and model performance metrics ("Metrics" section) that were picked or calculated and then registered during the model training.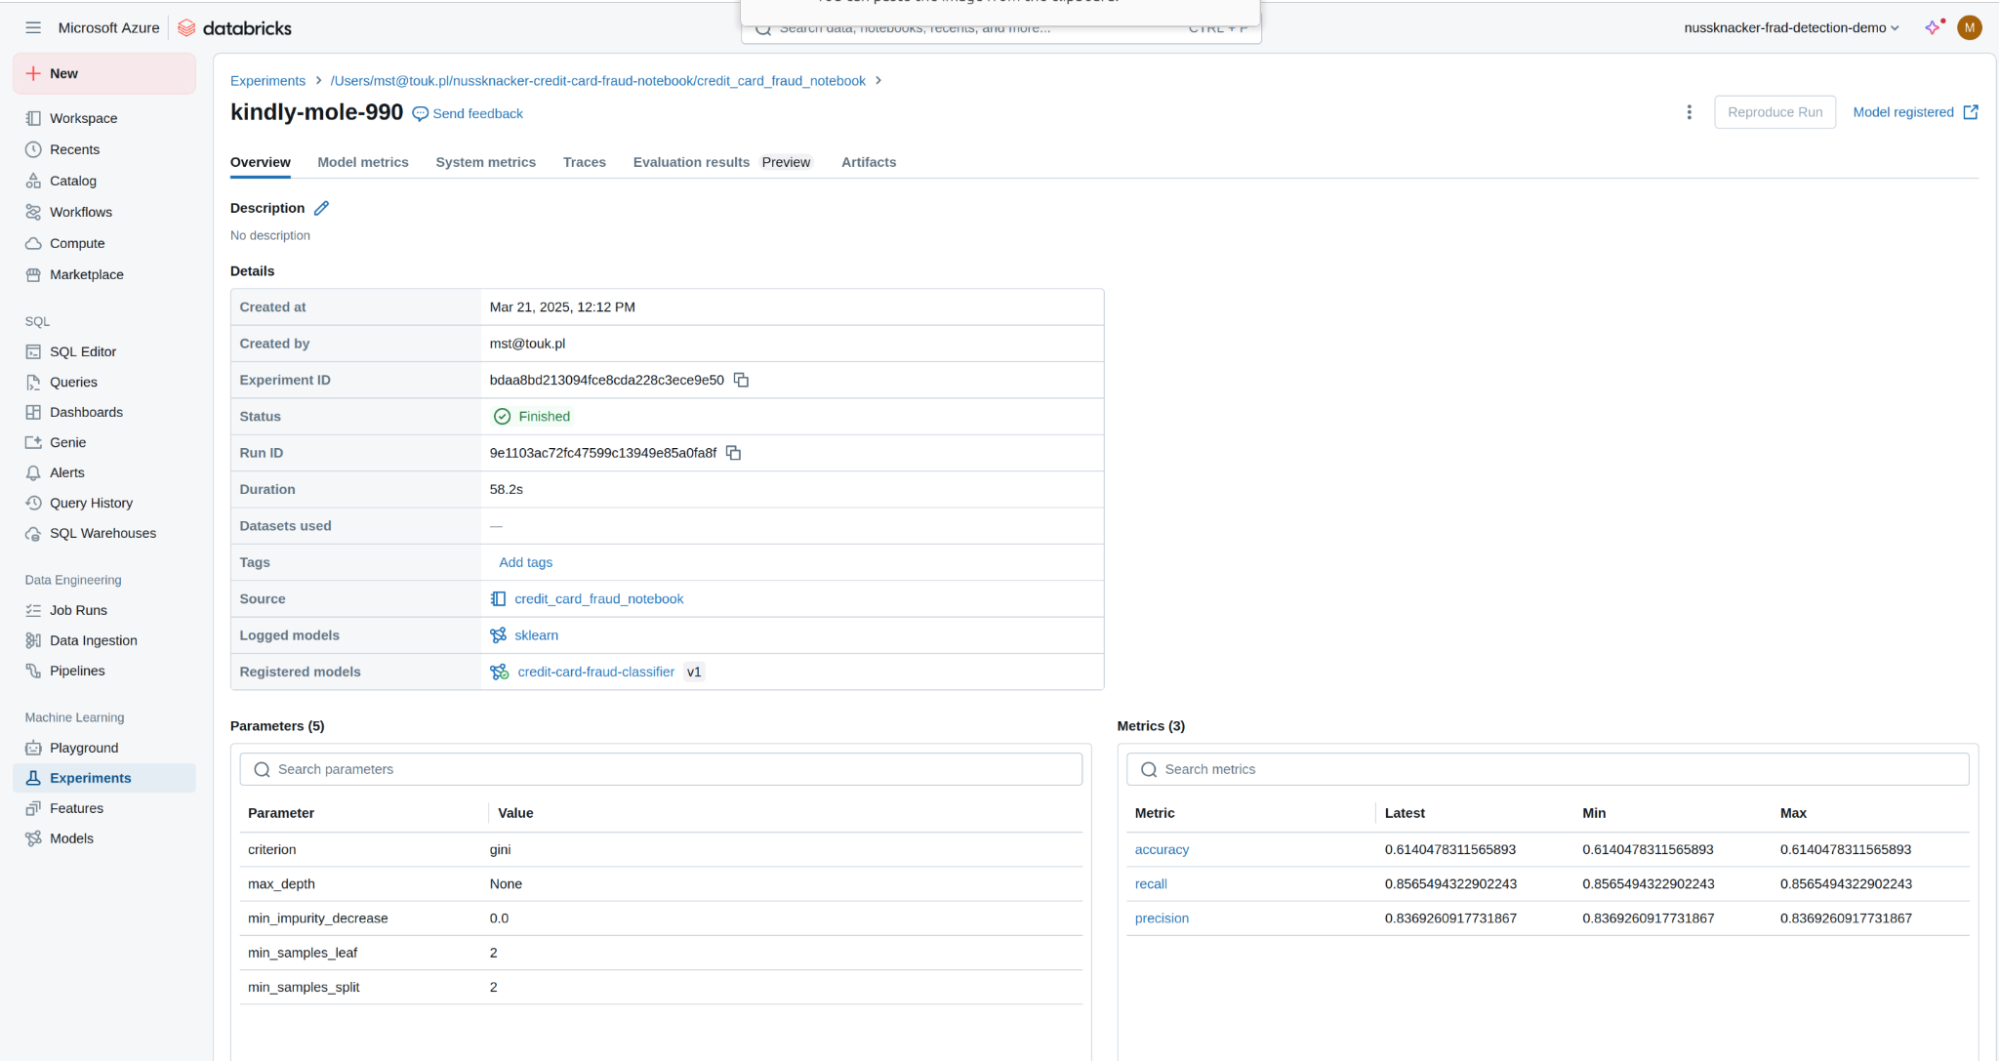
Experiments, runs, and metrics are a big part of the MLflow tracking commonly used by data scientists and machine learning engineers when working with the MLflow registry. Refer to the MLflow tracking documentation for more information and to this blogpost for a practical example of their usage.
Next steps
By default, a model registered in Azure Databricks managed MLflow is not immediately available for inference - it must first be explicitly exposed. In our follow-up blogpost on How to use Azure Databricks Managed MLflow in Nussknacker Cloud, you'll learn how to expose your model and then integrate it with your Nussknacker Cloud account by building a simple credit card fraud detection scenario. This scenario is also available as one of our demo scenarios.